Translate

Showing posts with label Tatting - Edging. Show all posts

Sunday, March 31, 2013

Free Instructions for Split Ring Beaded Tatted Edging

I assume you are familiar with split ring tatting.

Since it's split ring tatting, we obviously need to wind two tatting shuttles. Load the thread of one shuttle with the required number of beads if you want beads only on one side of the edging, and both shuttles if you want the beads on both edges.


Step 1: With Shuttle 1, ring of 5 ds, 5 p sep by 5 ds,  5 ds close ring.
Step 2: With shuttle 1, ring of 5 ds, join to the last picot of the 1st ring, 5 ds, 3 p sep by 1 ds, 5 ds, p, 5 ds close ring. If you want beads in your picots, place the required number of beads in your ring.
Step 3: With shuttle 2, push 1 bead into the ring and 5 ds, join to the 1 st picot of the 1st ring, 5 ds, p,ds, beaded picot, ds, p, 5ds, p, 5ds close ring.
Step 4: Split ring of 5 ds, join to the last p of the 3rd ring, 5 ds, p, 5ds/ 5ds, join to the 3rd p of the 2nd ring, 5 ds, p, 5ds, close ring.
Step 5: Split ring of 5ds, 2 p sep by 5ds, 5ds/  5ds, 2 p sep by 5ds, 5ds, close ring.
Step 6 to end: Rep from step 2

Tuesday, February 26, 2013

Tatted Insertion for a Mobile Pouch

Here are the tatting instructions for the mobiles and keys pouch I posted in my Needlecraft blog.

Row 1
Step 1: *Ring of 7ds, p, 7ds, close ring and reverse work.

Step 2: Ch of 7ds, p, 7ds. reverse work.

Step 3: Ring of 7ds, join to the picot of the previous ring, 7ds close ring.


Repeat from * until you've made the required length of lace to go around the pouch.

Finish with - Ring of 7ds join to the picot of prev. ring, 7ds, close ring.

Row 2: Start with the ring shown in the last pic.
Step 1: Ring of 7ds, join to the picot of the 1st ring of row 1, 7ds, close ring and reverse work.

The basic design is the same as row 1. But here, you join the rings picots to the corresponding ring picots of row 1. Finish neatly.

Tip:
A really neat trick I learnt is to neatly glue loose ends on the wrong side of work with clear nail 

Thursday, December 25, 2008

Motif #13

Here is motif 13. This mat looked plain. So I have embellished it with a feather stitch border and beads. The motif is from a needlework magazine "Needle And Thread" published by Coats India. This is the only Needlework magazine in India.

Monday, May 26, 2008

Motif # 10

I have been trying to make a corner for the edging in Motif 7. I have come up with 2 possibilities.

Here is the first-


And here is the second.


I like the second one. I would like some input on this.

Monday, November 05, 2007

Motif #8


The flower and the leaf are my motif #8. They are actually pieces I discarded because of mistakes. I was going through all my tadded motif, the good pieces and the mistakes I just could not through away. I felt these two would look good tofether and here they are.

Sunday, June 17, 2007

Motif # 7

This pattern is from the book called "Old and New designs in Tatting - Book 11", Page 5, Pattern 1122.


The pattern looked like an interesting candidate for split ring tatting.

I am working a hanky edging using this pattern.

I have made a small mistake.
Wondering how to turn when I reach a corner. I'll figure it out by the time I actually reach a corner.
Here is the edging worked in shaded pink in thread size 40.


Saturday, September 09, 2006

Tatted Titbits

I just put down the book "Detective" by Aruthur Hailey. It truly was unputdownable. So I was back to my original self - my time-tables and schedules for a better organised life be damned. 

Now when I look around me and see that I have just done the barest essentials like cooking, eating, dishwashing, laundry and read the rest of the time,I curse myself. Work in all shapes and forms has piled up.

Knowing that nobody but me can do my work, why oh why can't I organise my time and put everything into a neat slot? Like a Robo? Oh no! I am a creative eccentric not a robo - I like myself the way I am so let me be. 
Hubby says The inner debate will go on maybe forever especially after a stint of blissful reading ignoring all else as unimportant. He believes I was wired that way. 

Here are some tatted titbits. The pattern for pink beaded flowers with leaves, is in Reader's Digest's "Complete Guide To Needlework".


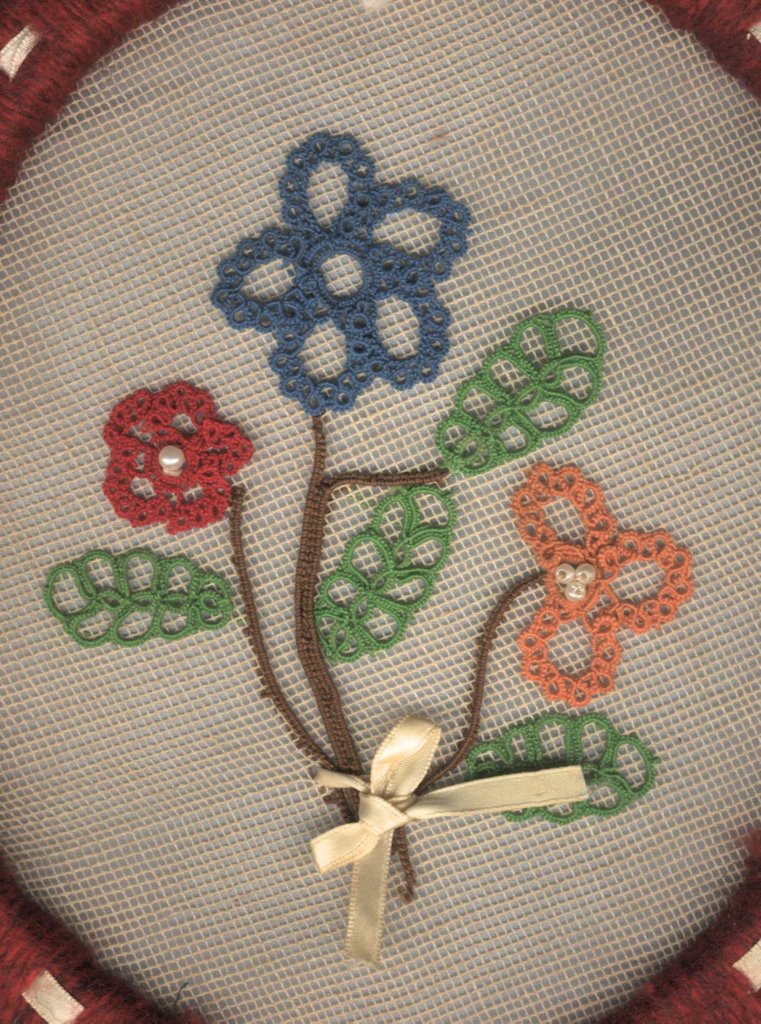
And here is a bunch of tatted flowers I did when I first learnt tatting 13 years ago.