Translate

Showing posts with label Tatting - With Beads. Show all posts

Sunday, March 31, 2013

Free Instructions for Split Ring Beaded Tatted Edging

I assume you are familiar with split ring tatting.

Since it's split ring tatting, we obviously need to wind two tatting shuttles. Load the thread of one shuttle with the required number of beads if you want beads only on one side of the edging, and both shuttles if you want the beads on both edges.


Step 1: With Shuttle 1, ring of 5 ds, 5 p sep by 5 ds,  5 ds close ring.
Step 2: With shuttle 1, ring of 5 ds, join to the last picot of the 1st ring, 5 ds, 3 p sep by 1 ds, 5 ds, p, 5 ds close ring. If you want beads in your picots, place the required number of beads in your ring.
Step 3: With shuttle 2, push 1 bead into the ring and 5 ds, join to the 1 st picot of the 1st ring, 5 ds, p,ds, beaded picot, ds, p, 5ds, p, 5ds close ring.
Step 4: Split ring of 5 ds, join to the last p of the 3rd ring, 5 ds, p, 5ds/ 5ds, join to the 3rd p of the 2nd ring, 5 ds, p, 5ds, close ring.
Step 5: Split ring of 5ds, 2 p sep by 5ds, 5ds/  5ds, 2 p sep by 5ds, 5ds, close ring.
Step 6 to end: Rep from step 2

Wednesday, July 08, 2009

Motif #16

Motif 16 was supposed to be a earring. Somewhere along the line it evolved into a flower and finally a book mark.


I made it a point this time to write down instructions as I went along.

I worked this motif with 2 shuttles using CTM.

50 beads (36 for the pattern + how many ever for the tail) in SHUTTLE 1.
36 beads (22 for the pattern + how many ever for the tail) in SHUTTLE 2.

RING 1: With SHUTTLE 1 form a ring sliding 3 beads in the ring thread (5ds, slide in a bead and make a picot) 3 times, 5ds close ring. Slide a bead close to the base of the ring just formed.

RING 2: With SHUTTLE 1 form a ring sliding 2 beads in the ring thread 5ds, join to the 3rd picot of the prev. ring, (5ds, 1 picot with a bead in it) 2 times, 5ds close ring. Slide a bead close to the base of the ring just formed.

RINGS 3-5: SAME AS RING 2

RING 6: is a split ring and also the 1st split ring in this design.

SR1 - With SHUTTLE 1, 5ds join to the 3rd picot of Ring 5. 5ds/ SHUTTLE 2 - slide 1 bead close to the base of Ring 1, 5ds, join to the 1st picot of Ring 1, 5ds, close ring.

SR2: With SHUTTLE 1, Slide 6 beads close to the base of SR1. Form a ring sliding 1 bead in the ring thread, 5ds, picot with a bead in it, 5ds / With SHUTTLE 2 Slide 6 beads close to the base of SR1, 5ds picot with a bead in it 5ds, close ring.

SR 3-9: Same as SR2 - slide just 1 bead close to the base of the prev SR instead of 6.

Slide all the remaining beads close to the last SR cut and tie.

NOTE: For each extra SR with beads you need 2 extra beads on each Shuttle. While you should have a bead in the ring thread for the first half of the SR, the bead remains in the shuttle thread itsel for the second half.

Motif #15 - Beaded Bookmark

Here is another beaded bookmark. 
I've always wondered how to get beads into rings - we usually see beads in picots.
I tried and the result is what you see here.

I got a few beads into the ring. I realised after sliding the beads from the ring thread close to the ds that a length of shuttle thread was bare. So I slid in the same number of beads from the shuttle thread before making the next ds.

Looking at the bookmark now, I wonder if maybe I should have used 1 bead less for the inner ring formed by the shuttle thread.


The pattern itself is very simple - just the basic rings and chains.


I have written down the instructions for working the basic ring and chain with beads - the rest, I am yet to write down.

Ring: 12 beads in ring thread and 12 beads in the shuttle thread.
[1ds, slide 3 beads from the ring thread and 3 beads from the shuttle thread close to the ds, 1ds, p] 3 times, 1 ds. slide 3 beads each from the ring and the shuttle threads close to the ds, p 1ds, close ring, rw - the extra p at the end is to join the chain to the base of the ring when working chains on the other side of the rings.

Chain: 8 beads each in ball and shuttle threads. * 1 ds slide 4 beads each from ball and shuttle threads close to the ds, 1 ds, * p, rep from * to * rw.

Bead Count:
- for 1 ring - 24 beads - 12 in the ring thread and 12 in the shuttle thread.
- for 1 chain - 16 beads - 8 in the ball thread and 8 in the shuttle thread.

Criical comments on this pattern, and any pointing out of mistakes will be apprec

Thursday, December 25, 2008

Motif # 14

Tatted Bookmark

Click on picture to enlarge.

Here is a bookmark I designed. Most of my projects start out as one thing and end up as something else. I started this as a heart in Teri Dusenbury's book Tatting Hearts. I made a mistake and thought I could convert it into an edging. It finally became a bookmark with split rings and beads. 

The beading has not turned out as well as I would have liked. I should have added fewer beads for the diamonds and a few more for the hearts. I do hope the hearts look like hearts. The picots to which the beads are attached should have been smaller.

BTW, Teri Dusenbury had a blog Lover's knots with some wonderfull beaded tatting. Does anybody know whether she has moved it or totally removed it from the web?

Wednesday, January 10, 2007

Motif # 5


This particular pattern seemed to be jinxed. I tried it at least 5 times and kept making mistakes. I finally gave up and dedicated myself to some housework that was long overdue. I tried it again today and decided to include some beads.

The motif is a modified version from the book Tatted hearts.

I have to try the same motif adding a couple of more sts to the larger ring in the 2nd round and see what happens.

Saturday, November 25, 2006

Motif # 4


This is a yahoo Celtic tatting group. I tried it out and the result is motif # 4. I have also added beads here. 
I start out wanting to do one thing, get side-tracked and end up doing something else.

Tatting has reduced my reading time.
I want to try out some Irish crochet motifs. And all those pictures of Sharon B's class in progess has me itching to work some embroidery samples. Looks like I have to organise myself if I don't want to be overwhelmed.

Sunday, November 19, 2006

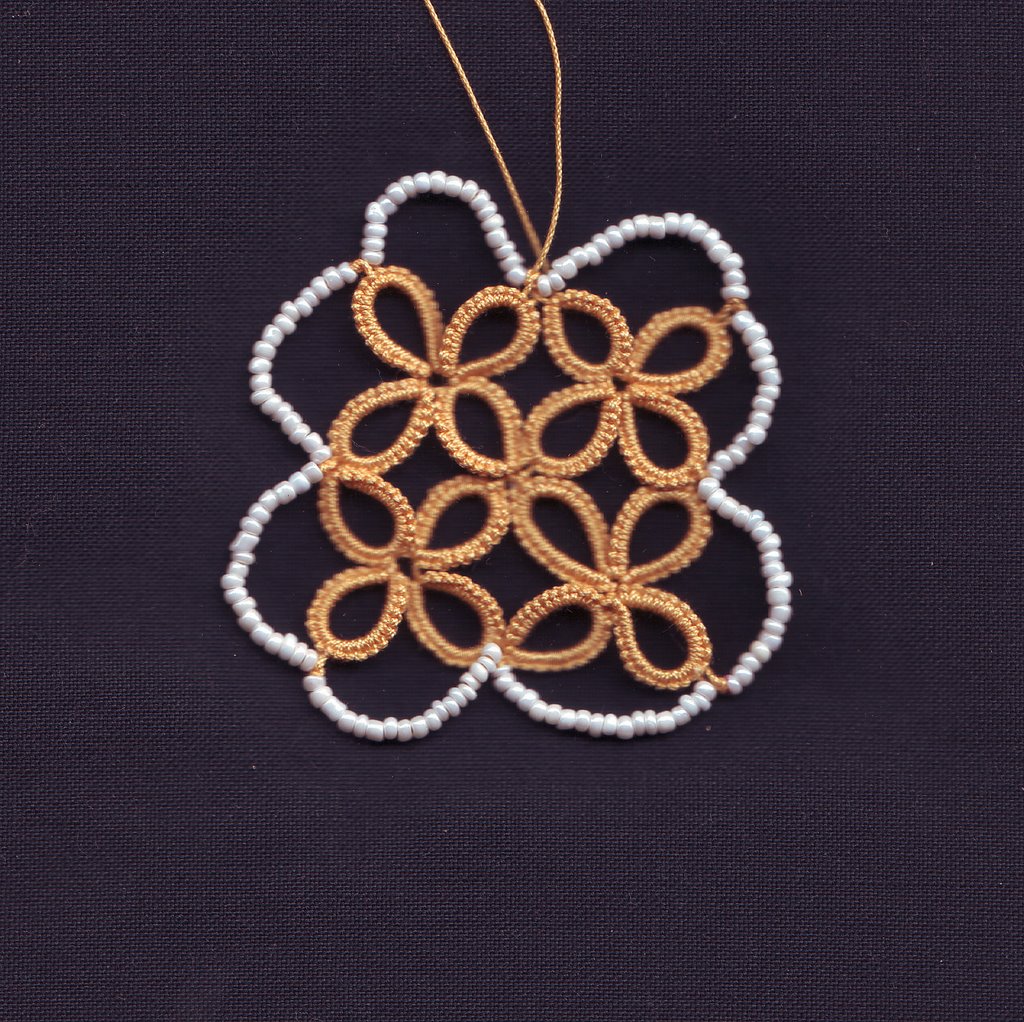
Motif # 3


I will use chains in motif #4. I realise that the extra chain will open out the groups at the base. I hope it will form a triangle so I can use it as a corner insertion for a hand towel.


This motif is a slightly modified version of a DMC pattern. I don't know the name of the book as I have only a couple of pages. The heading one of the pages says Motifs for applique. The page also has the DMC symbol.

I reduced the number of ds in the rings and the number of picots in the chain. As per the original instructions, the pattern is worked in 2 rounds. I used split rings to work this pattern.

Better write dOWN all the instructions before I forget.

The chain between rings 11 and 16 is another change I made. The original pattern has no chain.

I don't like the way the motif looks after I weaved in the ends. I is obvious I need lots more practice. I usually use the ends to sew the motif to fabric.

I want to try out the same motif increasing the number of picots in the rings. maybe that will be Number 4.

I was wondering how to use beads instead of chains in the drawing above.

Then I saw Sharon's comment. It never occurred to me that I could work the chain last. That meant I did not have to think too much. Just use the beads instead of chains and I could not resist trying it out immediately. So motif #3 turned out differently than intended.

Saturday, September 09, 2006

Tatted Titbits

I just put down the book "Detective" by Aruthur Hailey. It truly was unputdownable. So I was back to my original self - my time-tables and schedules for a better organised life be damned. 

Now when I look around me and see that I have just done the barest essentials like cooking, eating, dishwashing, laundry and read the rest of the time,I curse myself. Work in all shapes and forms has piled up.

Knowing that nobody but me can do my work, why oh why can't I organise my time and put everything into a neat slot? Like a Robo? Oh no! I am a creative eccentric not a robo - I like myself the way I am so let me be. 
Hubby says The inner debate will go on maybe forever especially after a stint of blissful reading ignoring all else as unimportant. He believes I was wired that way. 

Here are some tatted titbits. The pattern for pink beaded flowers with leaves, is in Reader's Digest's "Complete Guide To Needlework".


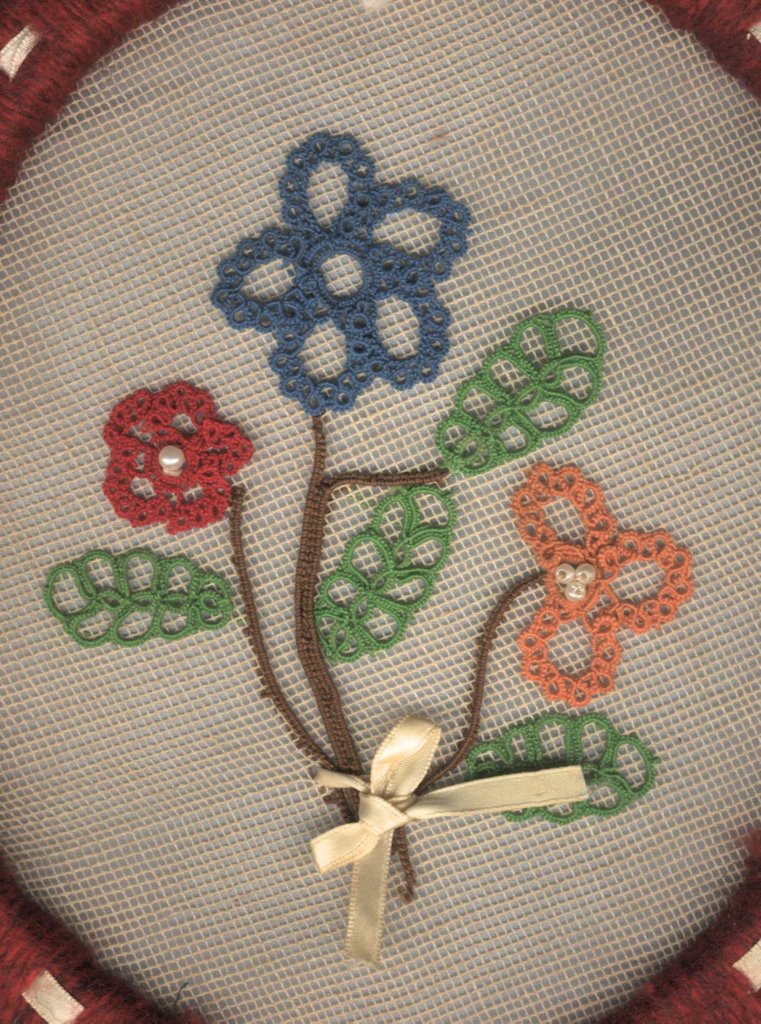
And here is a bunch of tatted flowers I did when I first learnt tatting 13 years ago.